How do I Set Up a Canon Pixma Printer Setup to a Wireless Connection?

There are two main approaches to setting up your Canon PIXMA printer for a wireless connection: using the printer’s control panel or through your computer. This guide will walk you through the methods that would help you with a smooth and successful setup.
Setting Up Your Wireless Connection
Before diving into the setup process, it’s crucial to ensure a few things:
Internet Connection
Verify you have a functioning internet connection with a wireless access point (router or hub).
PIXMA Model Compatibility
Double-check if your specific PIXMA model supports wireless connectivity. You can find this information in the user manual or on Canon’s website.
Manual Connection
We’ll focus on the manual connection method, as it offers wider compatibility compared to automatic options like WPS.
Choosing Your Wireless Network
- Printer Control Panel: Navigate to the “Set Up” menu on your printer and select “Wireless LAN Setup.”
- Network Selection: From the listed networks, choose your wireless router’s name (SSID).
- Password Entry: Enter your Wi-Fi password accurately. This password is essential for connecting your printer to the network.
Connecting with an Android Device
If you prefer using your Android device for setup:
- Download Canon App: From the Google Play Store, you have to download and install the Canon PRINT Inkjet/SELPHY app.
- App Instructions: You have to follow the on-screen instructions within the app and this would help to connect your printer to your Wi-Fi network.
Wi-Fi Setup Methods for PIXMA MG3620
For the specific PIXMA MG3620 model, follow these steps:
- Prepare the Printer: To ensure that the printer is ready for setup, you have to turn it on.
- Computer Setup: Download and install the latest printer driver software from Canon’s website for your computer’s operating system.
- Wireless Connection Option: During the driver installation, choose the “Wireless LAN Connection” option.
- Cableless Setup: Select “Cableless Setup” within the software prompts.
- Follow Instructions: The software will guide you through the remaining steps, and these prompts will also help you with connecting to your wireless network.
PIXMA MG3540 Wireless Connection Setup Guide
Here’s how to set up your PIXMA MG3540 model:
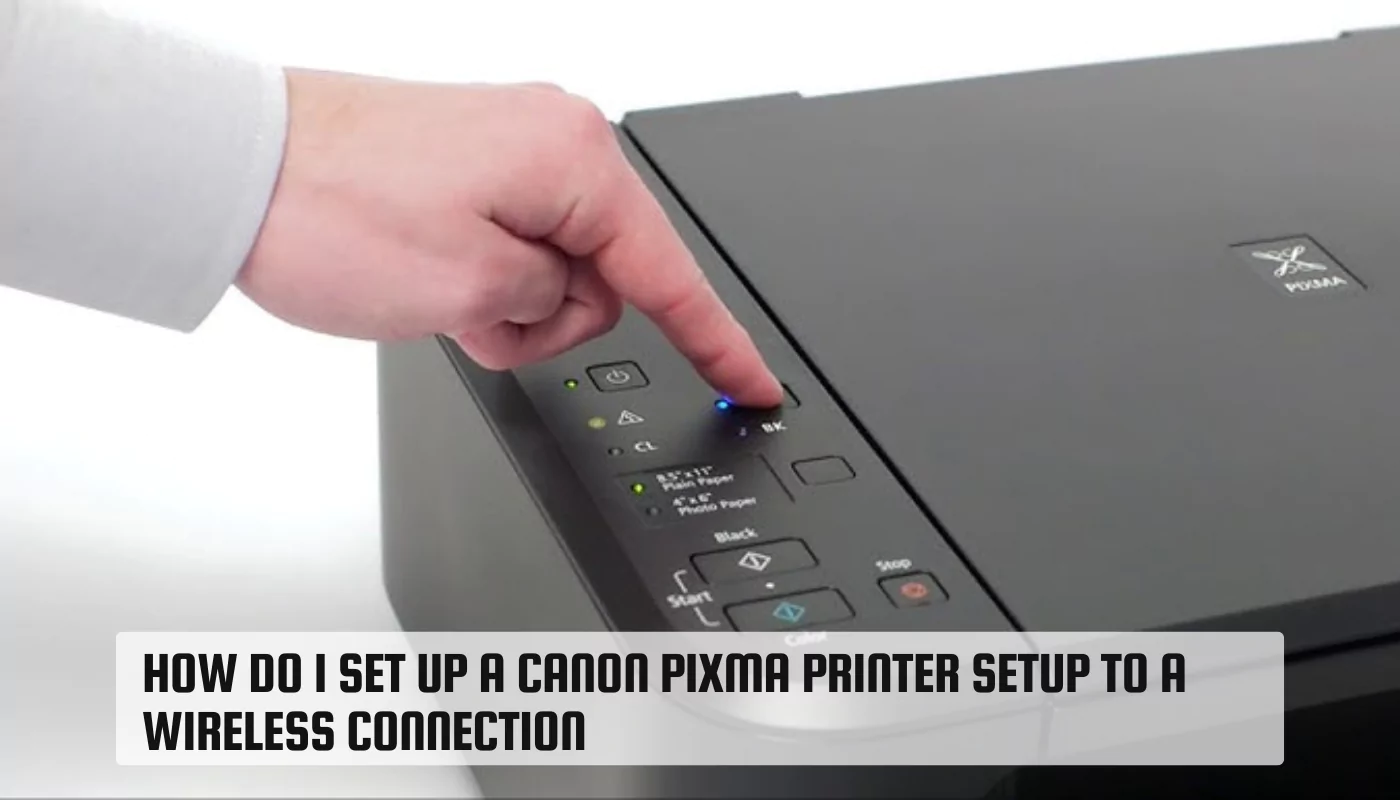
- Wi-Fi Button: On the top of your printer, you will find the Wi-Fi button, press and hold it until the alarm lamp flashes once.
- Alarm Lamp: Release the button after the second flash of the alarm lamp.
- Wireless Network Selection: On the printer’s display, you need to select your wireless network from the list.
- Password Entry: Enter your Wi-Fi password using the printer’s control panel buttons.
- Setup Completion: You have to follow the remaining on-screen prompts which will help you to complete the setup process.
Conclusion
By following these steps, you should be able to successfully connect your Canon PIXMA printer to your wireless network. Remember, the specific instructions might vary slightly depending on your printer model. If you encounter any difficulties, consult your printer’s user manual, or for further assistance, contact Canon support.


