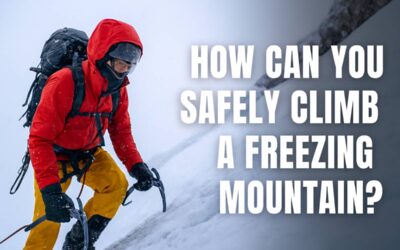


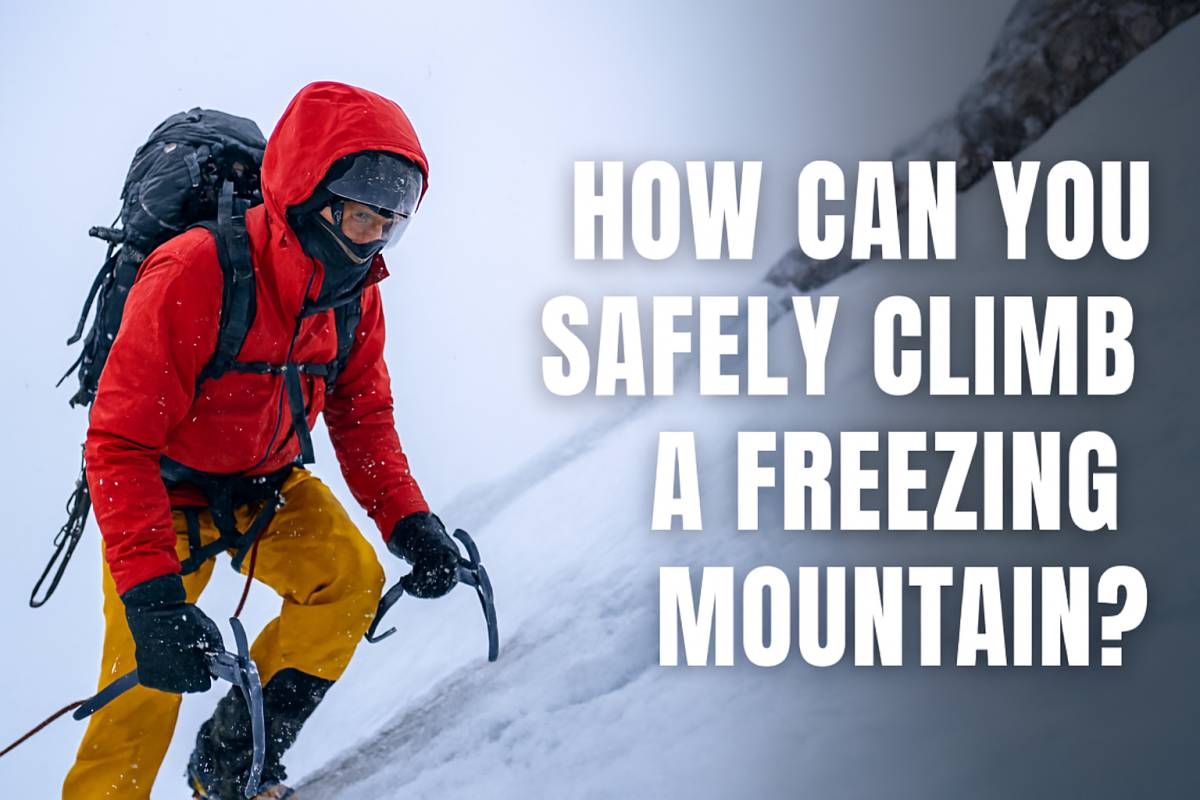
How Can You Safely Climb a Freezing Mountain?
Climbing a freezing mountain safely means preparing smartly, dressing in proper layers, using the right gear, monitoring weather conditions, and pacing yourself to avoid frostbite or exhaustion. It’s not just about strength — it’s about strategy, awareness, and respect for the cold. Whether you’re a beginner or an experienced climber, knowing how to protect yourself against extreme cold can make the difference between a thrilling adventure and a dangerous mistake.
Understanding the Challenge of a Freezing Mountain
Freezing mountains are among nature’s most beautiful yet unforgiving landscapes. The combination of low temperatures, thin air, icy paths, and unpredictable weather makes them both fascinating and dangerous.
Climbing in such conditions demands not only physical endurance but also mental resilience and preparation. A small oversight, like forgetting to hydrate or choosing the wrong gloves, can quickly escalate into a serious issue.
Before you step onto the slopes, it’s vital to understand what you’re up against — cold, wind, altitude, and fatigue. These are the four biggest factors that challenge every climber in freezing conditions.
Step 1: Prepare Your Body and Mind
The first step toward a safe climb begins long before you reach the mountain.
Train your body for endurance, strength, and flexibility. Regular hikes, weight training, and cardio will help your muscles adapt to demanding climbs.
Equally important is mental preparation. Freezing conditions can be mentally draining. Expect moments of discomfort, isolation, and fatigue. Preparing mentally for these challenges helps you stay focused and calm when conditions get tough.
Pro Tip: Simulate cold conditions by training in low temperatures to help your body adapt to chilly climates.
Step 2: Research the Mountain and Its Conditions
Each mountain is different. What works for Mount Kilimanjaro won’t necessarily work for the Himalayas.
Before you go, research the terrain, average temperatures, altitude, and possible hazards.
Check the local forecast daily during the week of your climb. Weather can shift dramatically within hours, and knowing when to climb — and when to rest — can prevent serious accidents.
Quick Checklist:
- Study the route maps and elevation profile.
- Learn about safe campsites and rescue zones.
- Check sunrise and sunset timings to plan daylight climbs.
- Read firsthand accounts from other climbers.
Knowledge is your first line of defense against danger.
Step 3: Dress for the Cold — Layer Smartly
When climbing a freezing mountain, what you wear determines how long you can last.
The goal is to stay warm but avoid sweating excessively, as moisture quickly freezes and cools your body.
The Three-Layer Rule:
- Base Layer: Moisture-wicking thermal wear (avoid cotton).
- Mid Layer: Insulating fleece or down jacket for warmth.
- Outer Layer: Waterproof and windproof shell to block snow and wind.
Don’t forget:
- Insulated gloves and mittens.
- Wool or synthetic socks (carry an extra pair).
- A balaclava or thermal face mask to protect against frostbite.
- Goggles or sunglasses to shield from glare and snow blindness.
Pro Tip: Keep extra hand warmers in your pockets. They’re lifesavers at high altitudes.
Step 4: Pack the Right Gear
Your backpack is your survival kit. Every item should have a clear purpose.
Essential Gear List:
- Crampons (for ice traction)
- Ice axe (for stability and safety)
- Helmet (protects against falling ice or rock)
- Trekking poles (reduce pressure on knees)
- Headlamp (for early morning or evening climbs)
- First aid kit (include frostbite ointment and blister care)
- Thermos (keep warm drinks ready)
- GPS or map (never rely solely on your phone)
Tip: Keep your batteries and power banks insulated inside your jacket — cold temperatures drain them fast.
Step 5: Stay Hydrated and Eat Regularly
Cold weather reduces your sense of thirst, but dehydration is still a major risk.
Drink small sips of water frequently — even when you’re not thirsty. Add electrolytes to maintain balance.
When it comes to food, choose high-calorie, easy-to-digest snacks:
- Nuts and dried fruits
- Energy bars
- Peanut butter
- Dark chocolate
These foods provide quick energy bursts without weighing you down.
Step 6: Learn to Read Weather Signs
Weather can turn from sunny to stormy in minutes on a mountain.
Recognize warning signs like dark clouds, increasing wind speed, or sudden drops in temperature.
If visibility drops or snow intensifies, it’s smarter to pause or turn back than to risk continuing. Safety always comes before summit goals.
Pro Tip: Download offline weather-tracking apps or carry a compact barometer to monitor pressure changes.
Step 7: Know the Symptoms of Hypothermia and Frostbite
One of the biggest dangers of freezing mountain climbs is hypothermia — when your body loses heat faster than it can produce it.
Early Signs of Hypothermia:
- Shivering uncontrollably
- Slurred speech
- Clumsiness or confusion
Frostbite Warning Signs:
- Numbness in fingers, toes, or nose
- Pale or bluish skin
- Hard, waxy feel in affected areas
If you notice these symptoms, stop immediately. Warm the person gradually — never with direct heat. Replace wet clothing with dry layers and move to a sheltered spot.
Step 8: Climb in a Team or With a Guide
Solo climbs might sound adventurous, but they’re risky in freezing conditions.
A team or a certified guide can make a massive difference in safety and morale.
Teams help distribute gear, share responsibilities, and respond faster in emergencies.
Even if you’re experienced, hiring a local mountain guide gives you insider knowledge about terrain, weather, and safe rest points.
Step 9: Rest, Pace, and Respect the Altitude
Altitude sickness can hit anyone — even fit climbers.
Ascend gradually to allow your body to adjust to lower oxygen levels.
Follow the “Climb High, Sleep Low” Rule:
Climb to higher elevations during the day but sleep at slightly lower altitudes to help your body adapt.
Never rush to the summit. Rest, hydrate, and listen to your body. If you feel dizzy, nauseous, or extremely fatigued, descend immediately.
Step 10: Celebrate the Journey, Not Just the Summit
Reaching the top of a freezing mountain is a remarkable achievement — but remember, the real success lies in returning safely.
Take photos, breathe the cold air, and appreciate the beauty around you.
Every step, every challenge, and every lesson learned adds to your experience as a climber.
As they say in mountaineering circles — “Getting to the top is optional, but getting down is mandatory.”
Final Thoughts
Climbing a freezing mountain safely isn’t about luck — it’s about preparation, patience, and presence of mind. From the right gear and clothing to knowing your limits and respecting nature, every detail matters.
When done right, the cold isn’t your enemy; it’s just another element to master.
So plan well, climb smart, and enjoy the adventure — one safe step at a time.